Intro: Carving Acrylic
Carving Acrylic Introduction
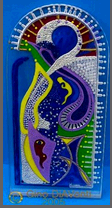 This Free Artist's tutorial will help you begin to learn how to carve and sculpt. This time we'll be working in acrylic, a fun and exciting medium. Plenty of photos, and you can always write Gino for extra help!
This month, Gino will show you some of the stages he goes through to carve acrylic, (or lucite) including how to arrive at the template to the end result; a lovely acrylic lucite carving. The Work shown is a Commission that consists of two mirror-image carvings (two of each shown) and was done from March 2005' to the second week of June, same year.
 Of course, the first thing One needs is a full-sized template of what will become the
carving. Gino did a small scaled-sketch first. After receiving approval from the
Collector, he then began to 'scale-up' the renderings you see pictured to
your left. Remember, the sketch you make will be in reverse of what will show
up on the carving.
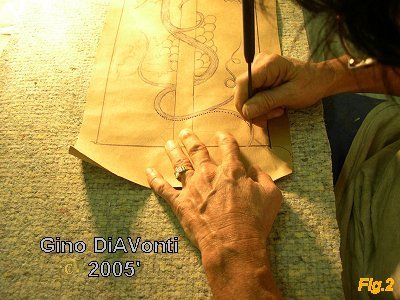
After they were completely drawn up to full-scale, Gino painstakenly takes a few days to poke tiny holes along each line, (Fig 2) using an ice pick that has been honed to a sharp point. The tiny holes will then allow Gino to transfer the drawing to the acrylic by first applying the drawing flush with the acrylic and then spraying black spray paint over it. Notice the carpet padding under the drawing as he pokes the holes; this allows the ice pick to go through the paper and not dull the point nor re-close the holes in the paper.
 After the drawing has been transfered to the acrylic, Gino uses a combination of several
dremel and dentists' bits to begin carving the acrylic. There are also special bits used
that are made solely for the purpose of carving this material. He completes what he
calls the 'major gutting' of the Work first, only then moving on to the details of the
piece. The tools used are a multi-functional dremel and a porter cable router, both of
which he uses from cables hanging overhead.
Some of the bits dull quickly, and Gino replaces many of them several times for each piece of acrylic. These would be the bits not specifically designed for use with acrylic, but he uses them anyway because of the effect they will give the finished piece.

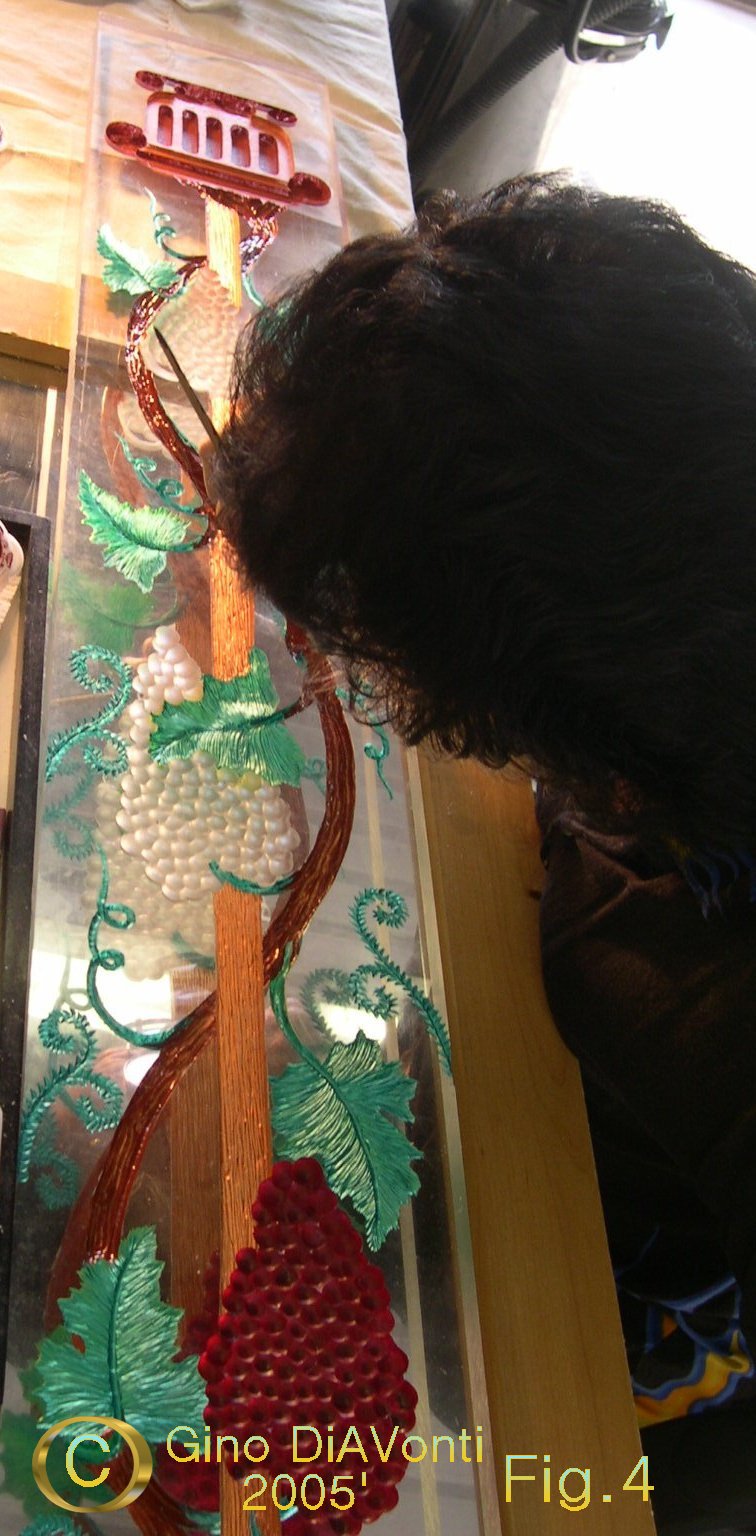 Looking at the piece pictured, Gino exclaims that the grapes will take the most time, as they
must be smoothed and rounded in order to look the way he wants them to. He spends
the most time on them, using 3 different bits before he is completely satisfied with
the end-result.
When he has finally finished the carving, he uses a porter cable hand-held jitterbug with various grades of sandpaper to sand both the front and back surfaces of the carving. He then takes a chamois dabbed in polishing compounds to it. This returns it to its' original smooth polished looking finish. (The surface piece becomes scratched as it is being carved, an undesirable effect) Only now can he begin to add the translucent glass dye paints to the Work.
Gino does not color all acrylics he carves, but in this case the Client had asked for this look. Many of his acrylics are left 'white' and only the lighting itself adds any color to the Work.
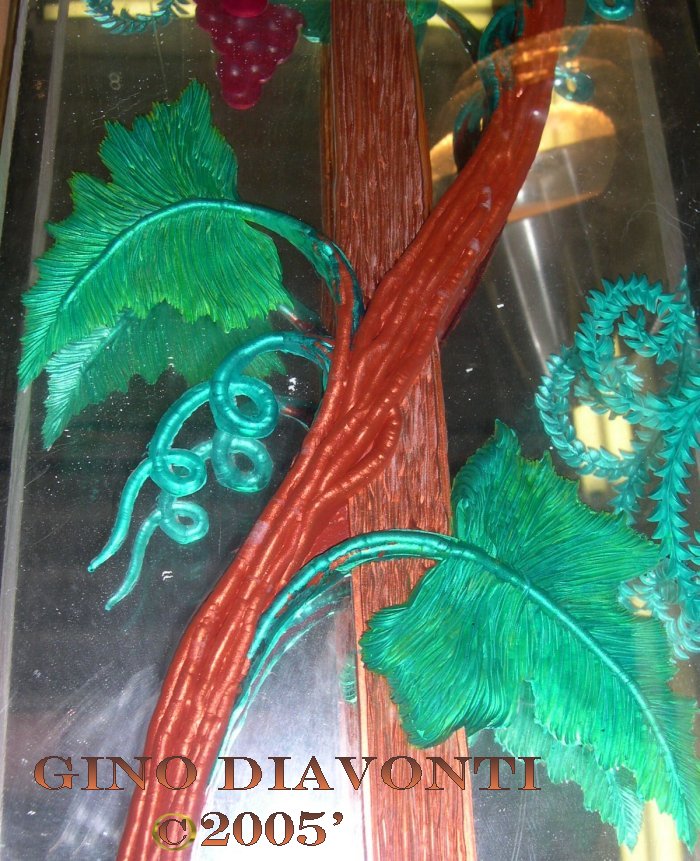
Gino uses paints and thinner to finish the completed carving, (Fig.4) being careful not to allow any one of the paints to 'pool' too long in any one indention, as this will give the paint a deeper look and not take to the light as well if all paints had been left to the same thickness.
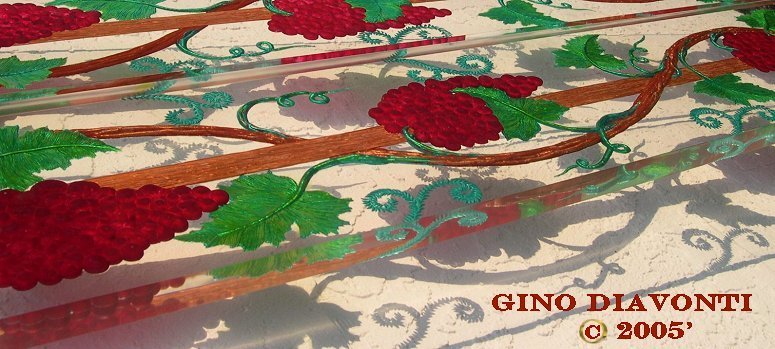 The beauty of carving acrylic is the lighting effect it carries. Any edge that has
been sanded smooth and has a light placed next to it, will create light to travel
throughout that carve-line and the touching lines. This makes the Work
"light-up".
As shown in Figure 3, (your upper-upper left) you can see the light is causing the planter to "glow". However, this light is not placed directly to where it can "kiss" the carving, so it is not travelling up through the grapevine itself. The lighting must be placed closer to enhance the entire vine. The Work shown will be embedded into two seperated walls, with lighting under and above the piece to show off this fantastic effect.
 You can use any color of lighting that you desire. Gino picks lighting that complements
the actual subject material. An example would be: An underwater scene would have blue
and/or green lighting placement. A Desert scene would be given pink and/or yellow
lighting. White lighting is always good, and gives quite a dramatic effect all on its'
own.
When Gino starts on the next two panels, I'll make another page explaining the tools and various bits he uses, and go into detail on his techniques. Update. He has, and here it is: Apprentice Help∼Carving Acrylic II page.